
After accessing the Playengo console, and simulating or configuring a player, you can register your player. This involves setting up an association between your Playengo console and your player (either simulated or real).
Important: You must have already either simulated a player or booted up a player to generate a unique code that you noted down.
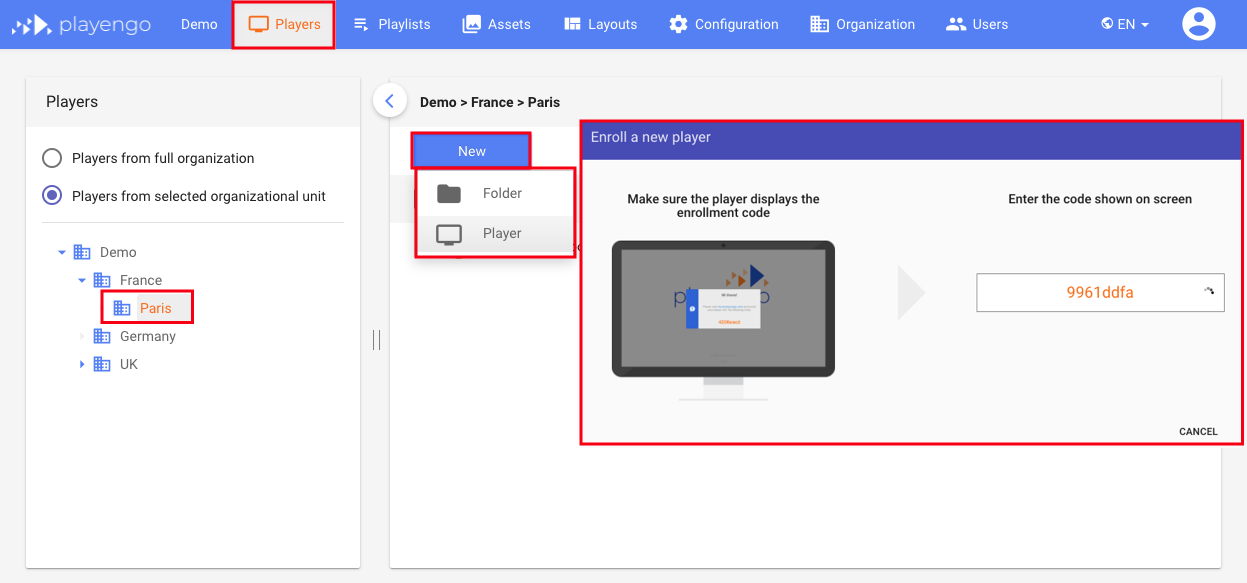
1. In the Playengo console, select the Players tab.
2. If required, navigate to the correct location for your player.
3. Click the New button and select Player.
4. A dialog opens. Enter the code you noted.
5. Enter a name for your player and save it.
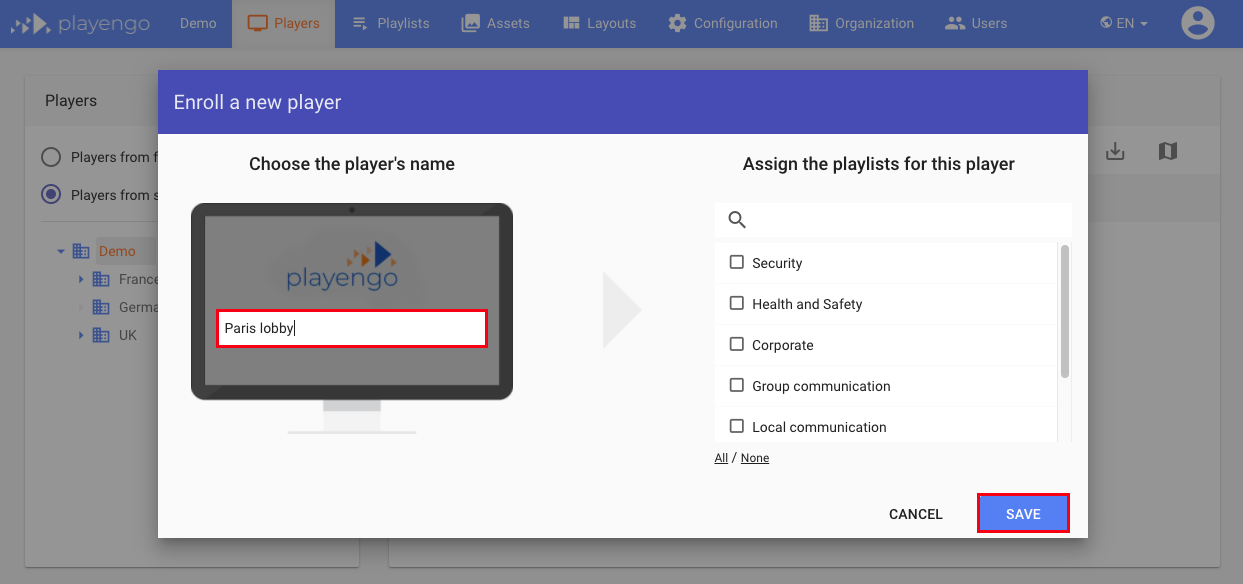
Note: You can assign existing playlists now to your player or create and assign a new one later.
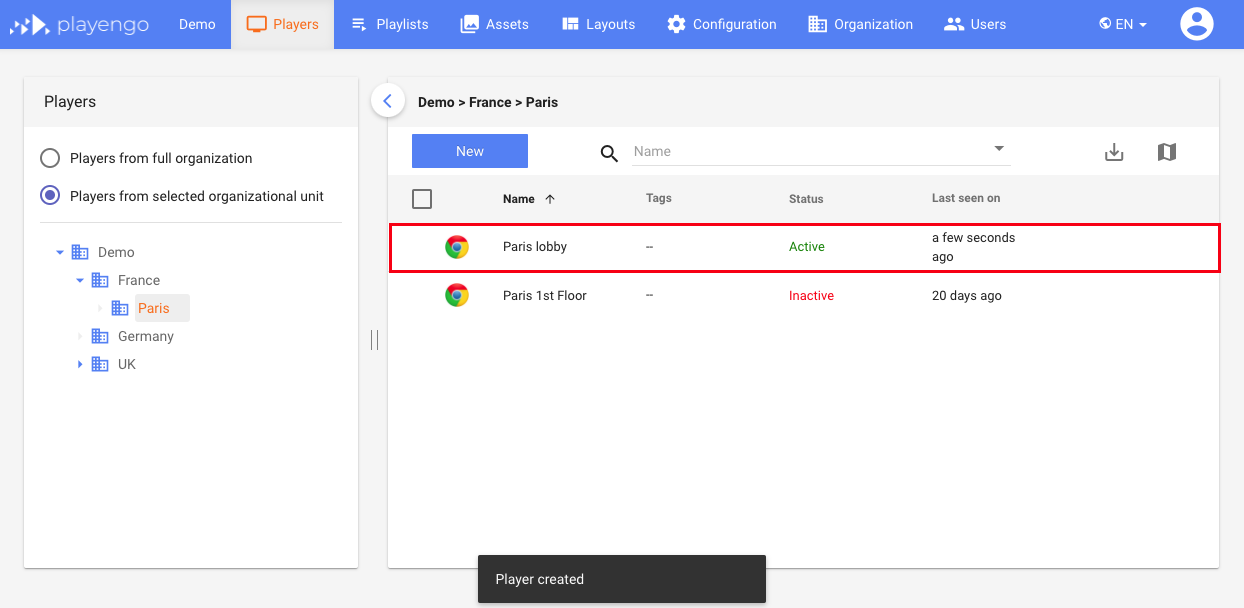
Your new player appears in the list of players.
In the next article, you will learn how to add online and offline content. You'll then be able to create and deploy a playlist!
Comments
0 comments
Please sign in to leave a comment.